The Best Way to Cook Chicken Thighs — With Minimal Effort!
If you've ever avoided chicken thighs because they felt too fatty or greasy, you're not alone — I used to feel the same way. But everything changed when I started cooking them in a cast iron skillet. Not only does it crisp up the outside perfectly, but it also locks in all the juicy flavor without drying out the meat.
This is my go-to method for making easy chicken tacos, fajitas, or just juicy, flavorful chicken to slice and eat on its own. The ingredients are simple, the cook time is fast, and the results are always mouthwatering.

Why This Recipe Works for Real Life
As a mom of teens and someone constantly balancing sports practices, grocery runs, and weeknight chaos, I need dinners that just work. Chicken thighs used to be a "no" for me — they were either too fatty or cooked weird. But once I figured out how to sear them properly in cast iron, they became one of my weekly staples. This recipe is a lifesaver when you need a protein-packed dinner that’s juicy, flavorful, and easy to build into tacos, bowls, or wraps.
More Easy Recipes You'll Love
If you love this easy cast iron chicken recipe, here are a few more you should try next:
These all work beautifully for busy nights, hungry teens, or family dinners where you need something reliable and delicious.
Why Cast Iron Makes the Difference
Cast iron gets hot and stays hot, which means you get that perfect golden-brown sear while locking in moisture. It’s honestly a game-changer for cooking chicken thighs that are juicy, flavorful, and never dry.
Jump to:
- The Best Way to Cook Chicken Thighs — With Minimal Effort!
- Why This Recipe Works for Real Life
- More Easy Recipes You'll Love
- Why Cast Iron Makes the Difference
- Simple Ingredients for Juicy Cast Iron Chicken Thighs
- How to Cook Chicken Thighs in a Cast Iron Skillet
- Substitutions
- Variations & Serving Ideas
- Equipment
- Storage
- Tips for Perfect Chicken Thighs Every Time
- FAQ
- Chicken Recipes
- Side Dishes
Simple Ingredients for Juicy Cast Iron Chicken Thighs
You only need a handful of ingredients to make this flavorful chicken:

- Boneless, skinless chicken thighs (about 10)
- Mild taco sauce (your favorite brand works)
- Garlic powder
- Paprika
- Salt and black pepper
- Olive oil (or avocado oil) for cooking
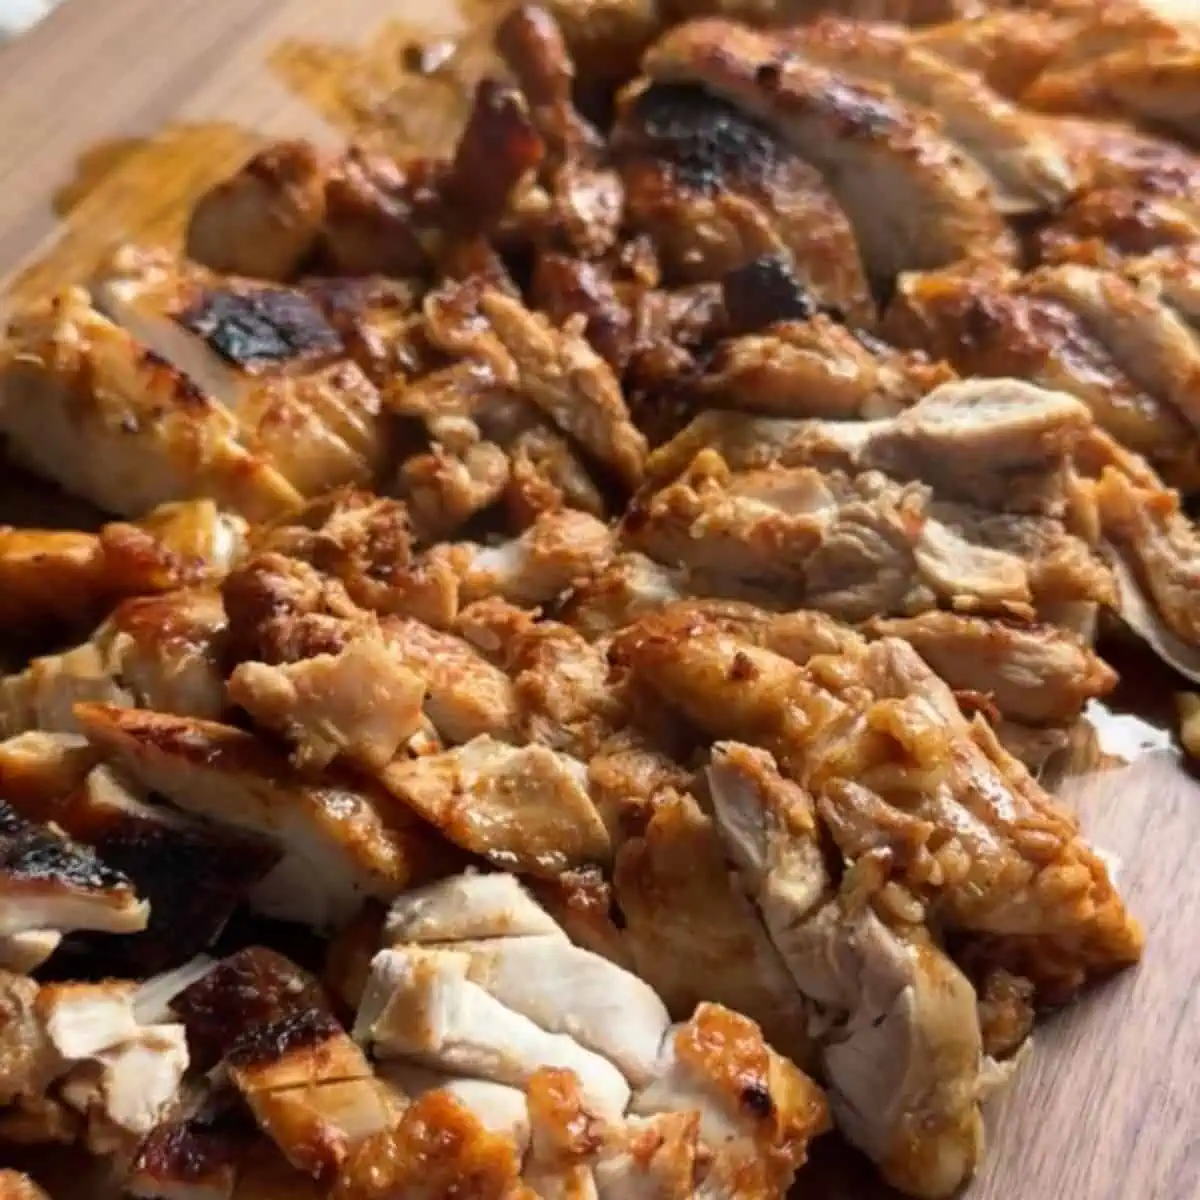
Optional serving ideas: Slice and use for tacos, fajitas, bowls, or even salads!ingredient 1
How to Cook Chicken Thighs in a Cast Iron Skillet
This method is all about high heat, great sear, and moisture-locking technique:

- Step 1: Prep the Chicken. Pat the chicken thighs dry and season both sides with garlic powder, paprika, salt, and pepper. Pour taco sauce over the thighs and let them sit for 10–15 minutes to marinate (optional, but adds flavor).

- Step 2: Heat the Skillet. Heat about 2 tablespoons of oil in a cast iron skillet over medium-high heat until hot but not smoking.

- Step 3: Cook the Chicken. Place thighs in the pan (don’t overcrowd). Cook for 5–6 minutes per side, until well-browned. Use a meat thermometer to check for an internal temp of 165°F. Use a lid slightly ajar to reduce splatter — not to steam!

- Step 4: Rest and Serve. Let the chicken rest 5 minutes before slicing. Serve in tacos, over rice, or with grilled veggies!
Hint: Double the batch and slice extras for tacos or bowls throughout the week. These cooked chicken thighs are perfect for lunches and re-heat very well.
Substitutions
Need to swap an ingredient? No problem. Here are a few easy substitutions:
- Chicken thighs: Swap for boneless skinless chicken breasts (adjust cook time)
- Taco sauce: Use enchilada sauce, salsa verde, or even BBQ sauce
- Paprika: Smoked paprika adds even more flavor if you have it
- Oil: Use avocado oil, canola oil, or ghee if preferred
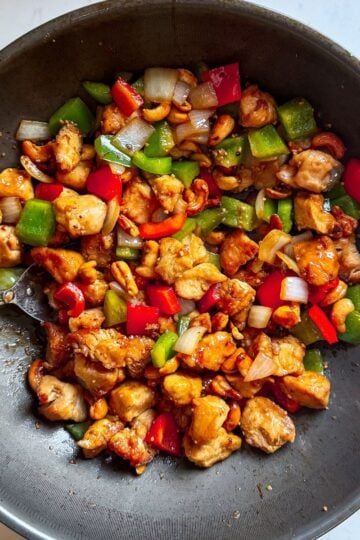
Variations & Serving Ideas
There are so many ways to enjoy this chicken beyond just eating it straight from the skillet:
- Tacos: Slice and serve in warm tortillas with shredded lettuce, cheese, and salsa
- Fajita Bowls: Add grilled peppers, onions, and rice
- Leftover Hack: Chop and use in quesadillas or wraps the next day
- BBQ Style: Swap taco sauce for BBQ sauce for a sweet and smoky flavor
- Mediterranean Vibes: Use lemon, oregano, and garlic instead of taco sauce
Equipment
- Cast iron skillet
- Tongs
- Meat thermometer
Storage
Store leftovers in an airtight container in the fridge for up to 4 days. Reheat in a skillet or microwave.
Tips for Perfect Chicken Thighs Every Time
- Use a meat thermometer to avoid overcooking
- Don’t skip drying the chicken before seasoning — helps with browning
- Don’t crowd the pan — work in batches if needed
- Leave the lid slightly open — it keeps oil from splattering without steaming the meat
- Use boneless, skinless thighs for faster cooking and easier slicing
FAQ
Yes, but you’ll need to increase the cook time and make sure the internal temperature hits 165°F near the bone.
No, but a quick 10-minute soak in taco sauce before cooking adds more flavor.
Use a heavy-bottomed stainless steel skillet. Avoid nonstick pans—they don’t brown the chicken as well.
Yes! Cook, cool, and store in the fridge for up to 4 days. Great for meal prep.
Absolutely. Double the batch and use it in tacos, wraps, salads, or bowls throughout the week.
Chicken Recipes
Looking for other chicken recipes? Try these:

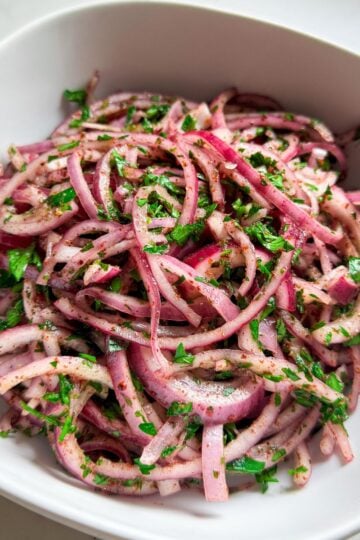

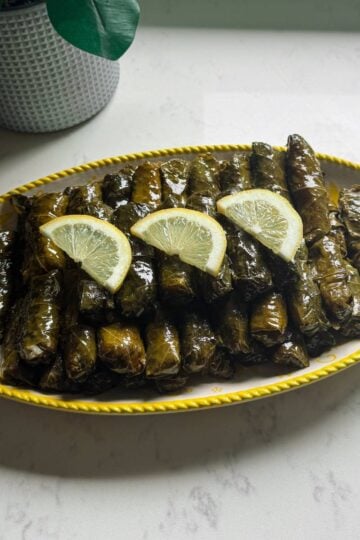
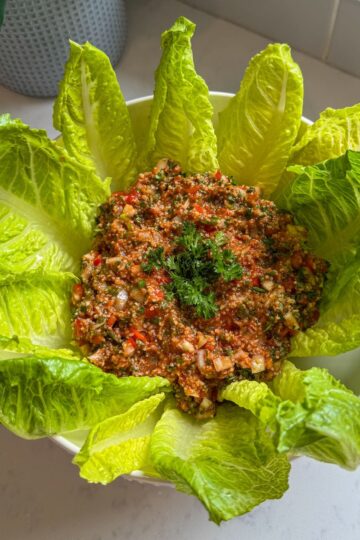
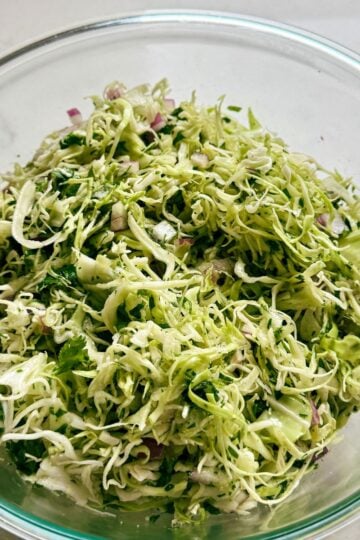
Side Dishes
These are my favorite dishes to serve with these Cast Iron Chicken Thighs:


Cast Iron Chicken Thighs
Equipment
- Cast iron skillet
- Tongs
- Meat thermometer
Ingredients
- 10 boneless skinless chicken thighs
- ½ cup mild taco sauce
- 1 teaspoon garlic powder
- 1 teaspoon paprika
- 1 teaspoon salt
- ½ teaspoon pepper
- 2 tablespoon olive oil or avocado oil
Instructions
- Pat chicken thighs dry and season both sides with garlic powder, paprika, salt, and pepper.
- Coat with taco sauce and let sit 10–15 minutes (optional).
- Heat oil in cast iron skillet over medium-high heat.
- Cook thighs 5–6 minutes per side until golden brown and internal temp reaches 165°F.
- Use a lid slightly ajar to reduce splatter (don’t fully cover).
- Let rest for 5 minutes. Slice and serve as desired


Comments
No Comments