If you haven’t started cooking chicken thighs in your cast iron skillet yet — let this be your sign. These One Pan Cast Iron Chicken Thighs with Green Beans and Peppers are juicy, flavorful, and beyond simple. The best part? No trimming needed, and there’s zero chewy fat when cooked correctly.
This is the kind of easy weeknight dinner recipe I find myself making again and again. It’s minimal prep, cooks in just one pan, and looks beautiful on the plate thanks to those colorful sweet peppers. From fridge to table in about 30 minutes — this meal is a lifesaver on busy nights.

Why I’m Obsessed with Cast Iron Cooking
Cast iron cooking just hits different. Once you start, you can’t stop.
I’ve had my Lodge cast iron pan since before I was married, and it still looks the same. I use it 4–5 times a week, and it lives permanently on my stovetop. No nonstick coating to flake off, no complicated cleanup, and best of all — it's toxic-safe and built to last a lifetime.
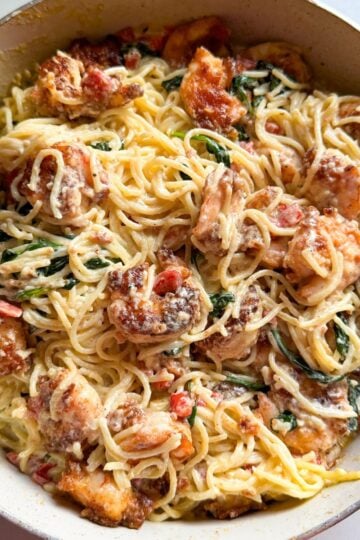
This was inspired by my other recipe on this site, One Pan Chicken, Rice and Green Beans Recipe, and pairs well with Parmesan Garlic Pasta.
Jump to:
- Why I’m Obsessed with Cast Iron Cooking
- Why You’ll Love This One Pan Cast Iron Chicken Dinner
- Ingredients You’ll Need for Cast Iron Chicken Thighs and Veggies
- Instructions
- Variations on This Cast Iron Chicken Skillet
- Substitutions to Make This Meal Work for You
- Equipment
- Storage
- Top Tip
- FAQ
- Copycat Recipes
- Side Recipes
Why You’ll Love This One Pan Cast Iron Chicken Dinner
- One pan, easy cleanup
- Whole meal in under 30 minutes
- No trimming chicken thighs — still tender, never chewy
- Nutrient-packed with green beans and sweet peppers
- Family friendly and naturally gluten-free
Ingredients You’ll Need for Cast Iron Chicken Thighs and Veggies
You only need a few pantry-friendly ingredients to make this One Pan Cast Iron Chicken Thighs!

- Chicken thighs – bone-in or boneless, skin-on or skinless — all work!
- Fresh green beans – trimmed
- Sweet mini peppers – sliced into rings
- Oil – for searing (olive or avocado oil)
- Butter – for finishing with the veggies
- Seasonings – salt, pepper, lemon pepper, Italian seasoning
See recipe card for quantities.
Instructions
Cooking chicken thighs in a cast iron skillet couldn’t be easier.

- Step 1: Sear the chicken thighs in your cast iron skillet with oil and seasonings.

- Step 2: Flip and cook both sides until fully done.

- Step 3: Add in trimmed green beans, sliced peppers, and butter.

- Step 4: Sauté everything together until the veggies are crisp-tender and full of flavor.
That’s it. One skillet, done.
Hint: Don’t overcrowd the pan.
If your chicken thighs are large or your cast iron skillet is on the smaller side, cook them in batches. Overcrowding causes the meat to steam instead of sear, and you’ll lose that golden crust you want on the chicken.
Variations on This Cast Iron Chicken Skillet
Want to mix things up? Try:
- Swap green beans for asparagus or broccoli florets
- Use boneless skinless chicken thighs for quicker cooking
- Add a handful of cherry tomatoes with the peppers
- Spice it up with red pepper flakes or smoked paprika
Substitutions to Make This Meal Work for You
- Chicken breasts can be used, but be careful not to overcook
- Frozen green beans work in a pinch, just thaw first
- Bell peppers can sub in for sweet mini peppers
- Ghee or dairy-free butter for a dairy-free option
Equipment
Equipment can have a big impact on how a recipe turns out. Here’s what you’ll need to make this easy one-pan meal:
- Cast iron skillet – a 10–12 inch Lodge or similar works perfectly
- Tongs – for flipping the chicken easily without splatter
- Sharp knife – to slice the sweet peppers
- Cutting board – for prepping veggies
- Meat thermometer – optional but recommended for checking doneness (165°F internal temp)
- Wooden spoon or spatula – for stirring the vegetables during the final cook
Pro Tip: A well-seasoned cast iron pan makes all the difference. If your pan is new, make sure to oil and heat it properly before use for the best sear and easiest cleanup.
Storage
Got leftovers? Here’s how to store and reheat them the right way:
Refrigerator:
Store any leftover chicken and veggies in an airtight container in the refrigerator for up to 3 days.
Reheating:
Reheat gently in a skillet over medium-low heat with a splash of water or chicken broth to keep the chicken moist. You can also microwave in 30-second bursts until warmed through.
Freezing:
While the chicken can be frozen, the veggies may become mushy after thawing. If you do freeze, store in a freezer-safe container for up to 2 months. Thaw overnight in the fridge before reheating.
Top Tip
Let the chicken get a deep golden sear on the first side before flipping — this locks in moisture and boosts flavor.
FAQ
Yes, just thaw and pat dry first so they don’t steam too much in the pan.
Yes — all ingredients are naturally gluten-free.
Store in an airtight container in the fridge for up to 3 days. Reheat gently in a skillet.
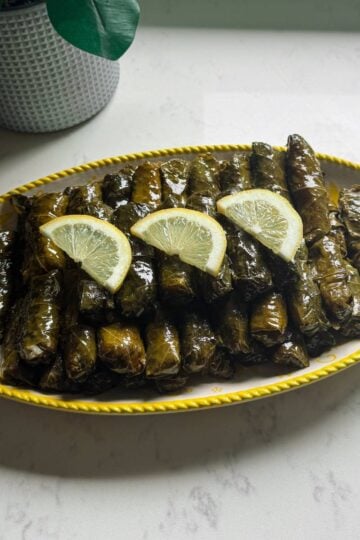
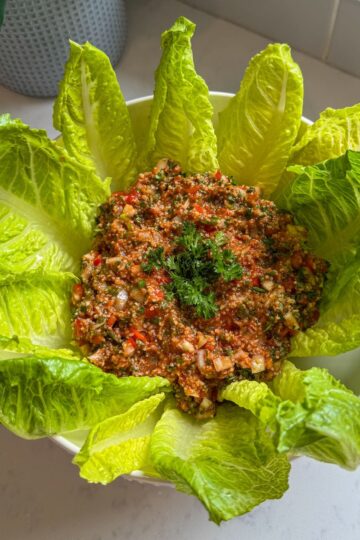
Copycat Recipes
Looking to try something new? Try these:
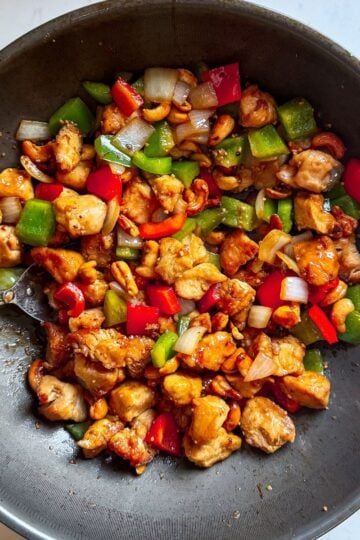
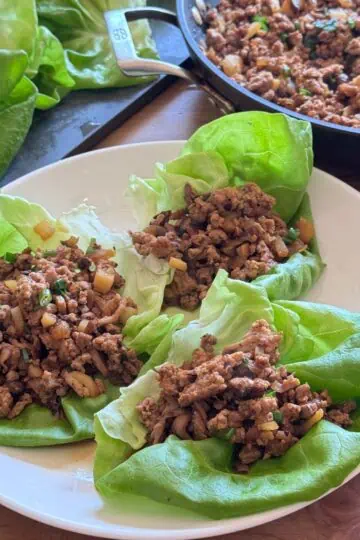


Side Recipes
These are my favorite side dishes to serve with this Cast Iron Chicken, Green Beans, and Peppers recipe:

One Pan Cast Iron Chicken Thighs with Green Beans and Peppers
Equipment
- Cast iron skillet
- Tongs
- Knife
- cutting board
- Wooden Spoon or Spatula
- Meat thermometer Optional
Ingredients
- 6 chicken thighs bone-in or boneless
- 2 tablespoons oil olive or avocado
- 1 teaspoon salt
- ½ teaspoon pepper optional
- 1 teaspoon lemon pepper
- 1 teaspoon Italian seasoning
- 2 tablespoons butter
- 2 cups trimmed green beans
- 1 cup sliced sweet mini peppers any color
Instructions
- Heat oil in cast iron skillet over medium heat.
- Season chicken thighs with salt, pepper, lemon pepper, and Italian seasoning.
- Add chicken to skillet and sear 6–7 minutes per side, until cooked through.
- Lower heat and add green beans, sweet peppers, and butter to the skillet.
- Sauté everything together for 5–6 minutes, until veggies are tender-crisp.
- Serve hot, straight from the pan.
Notes
- Chicken Options: You can use boneless skinless thighs or bone-in with skin — both work great. Just adjust cooking time slightly depending on thickness.
- Vegetable Swaps: Swap green beans for asparagus, broccoli, or even zucchini. Add veggies during the last 5–7 minutes so they don’t overcook.
- Butter Boost: The butter added at the end adds richness and helps the veggies sauté beautifully — don’t skip it!
- Cast Iron Tip: If your pan is newer or not well-seasoned, add a little extra oil before cooking to prevent sticking.
- Want it spicy? Add a pinch of crushed red pepper flakes or a dash of hot sauce when you add the peppers.


Comments
No Comments